Macramé Gnome – Step-by-step tutorial
11.11.2022 | | Seen: 2850x
Macrame elves bring happiness and good mood to every home. Make one with us by following the simple step-by-step tutorial.
Macramé Gnome – Step-by-step tutorial
Advent Season is slowly approaching and it's time to start thinking about this year's Christmas decorations. Gnomes are a popular Christmas decoration and for a good reason! They’re cute, cheerful, and easy to make. Making your gnome is a great way to add a personal touch to your holiday decorating. Plus, it’s a fun project that the whole family can enjoy. So gather up your supplies, and let’s get started!
Author of the instructions: Eva Janečková

1. Cut a strip of craft paper the size of the diameter of the wooden ring and glue it together.

2. Cut a string approx. 24 cm long.

3. Cut a sufficient number of equal lengths of string.

4. Fold the yarn in half and place it under the paper.

5. Thread it through the loop and out.

6. Tighten and tie all around.
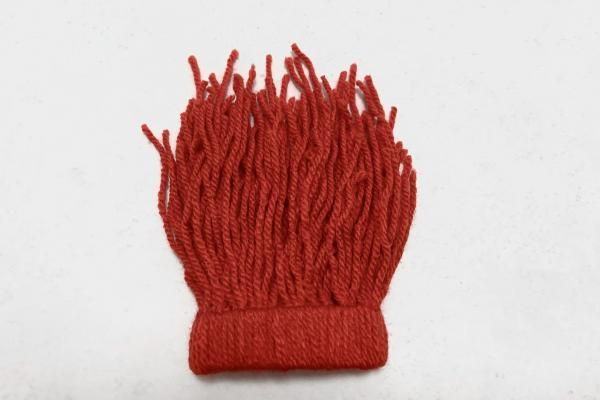
7. This is what the hat looks like.
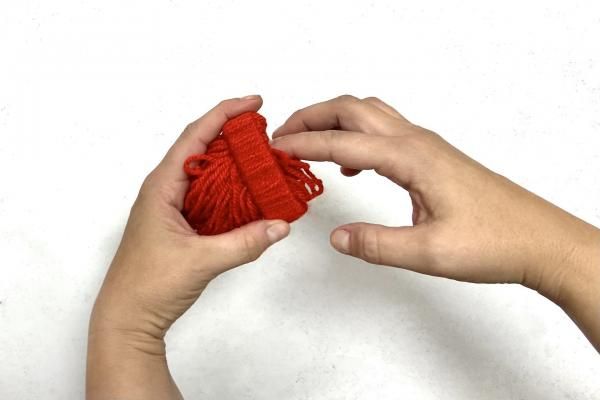
8. Turn the finished hat upside down.

9. And tie it with string.
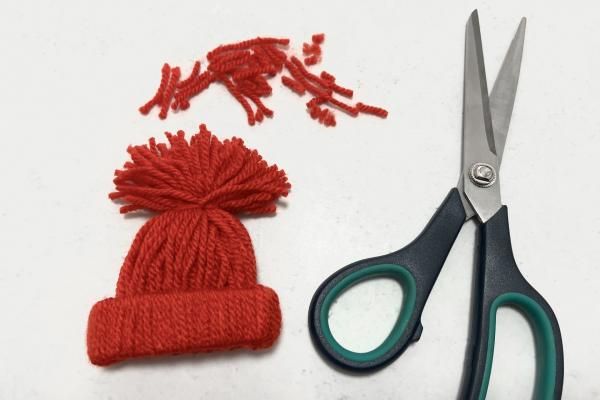
10. Shape the pompom with scissors.

11. This is what the hat on the ring will look like.

12. Cut a total of 10 strings from macrame yarn, each string is approx. 30 cm long.

13. Fold the yarn in half and place it under the wooden ring.

14. Thread it through the loop and out.

15. Continue this way with 10 strings, all close to each other.
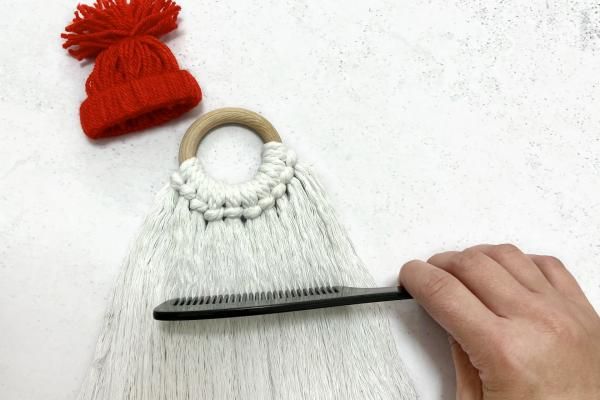
16. Turn to the side where the knots are and comb through.
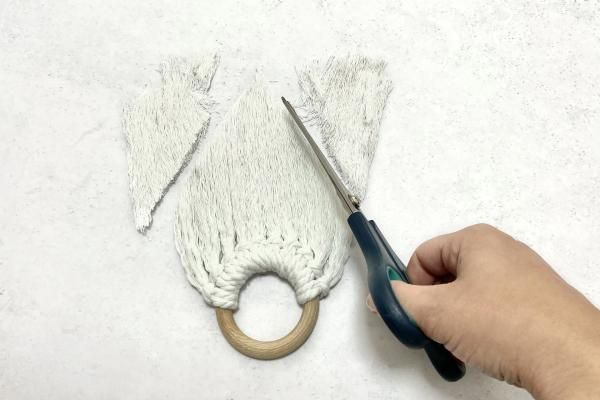
17. Trim it into the shape of a beard.

18. Glue the hat and the wooden bead as a nose with a glue gun.

19. Macrame gnome is finished.
Necessary Material:
Necessary Tools:
Discussion:
Only subscribed members may contribute.

